Scissor Skills Cutting Practice Book: Free Printable Workbook (PDF)
A free 29-page cutting practice book for ages 3 to 6. It starts with simple snips and straight lines, moves on to zigzags, waves, curves and steps, and finishes with shapes and pictures to cut out. Download the PDF in US Letter or A4 and print it at home or in class.
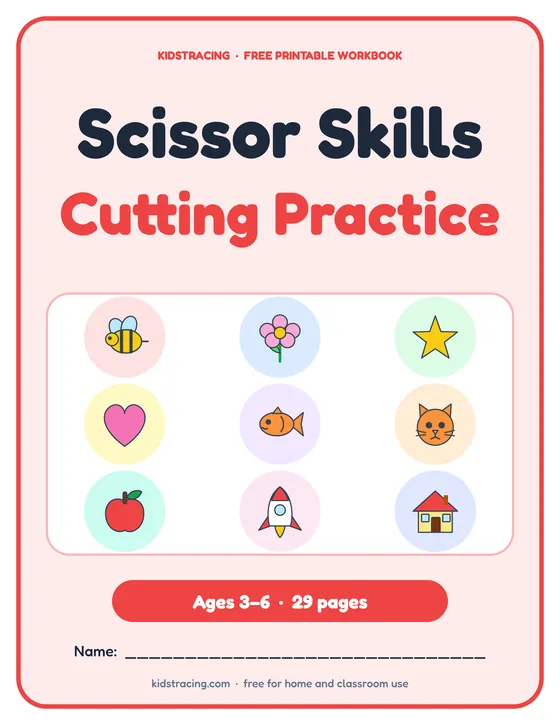
Download the Scissor Skills Cutting Practice Book
- 29 pages for ages 3–6
- Free for home and classroom use, with no sign-up or email address
- Two PDF files: US Letter (8.5 × 11 in) and A4
- Prints in black and white or in color
Print at 100% (Actual size). Choose US Letter in the United States and Canada, and A4 almost everywhere else. How to print a workbook
Who this workbook is for
Using scissors is not just a craft skill. It strengthens the small muscles of the hand, teaches the two hands to work together (one cuts, the other turns the paper) and trains the eyes to follow a line, all of which support later handwriting. Children usually begin with snips around age 2 to 3 and cut along lines at 3 to 4, but every child’s timeline is different.
This book is for ages 3 to 6 and moves in small steps, so you can start at whatever page matches your child. The How to Teach a Child to Use Scissors guide covers grip and safety in more detail, and our scissor skills worksheets can make extra pages of just the line or shape your child needs more practice with.
What is inside the Scissor Skills Cutting Practice Book
The workbook has 29 pages. Every page is numbered in the bottom corner, so you can print one section at a time.
| Pages | Section | Number of pages |
|---|---|---|
| 1–3 | Cover, a page for parents and teachers, and the contents | 3 |
| 4–6 | Snips and Straight Lines | 3 |
| 7–15 | Zigzags, Waves and Curves | 9 |
| 16–20 | Cut Out Shapes | 5 |
| 21–28 | Cut Out Pictures | 8 |
| 29 | Certificate of achievement | 1 |
Snips and Straight Lines (pages 4–6)
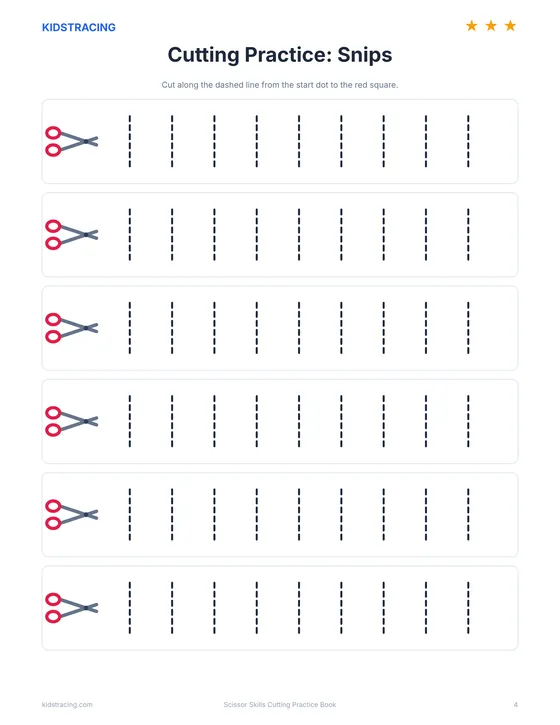
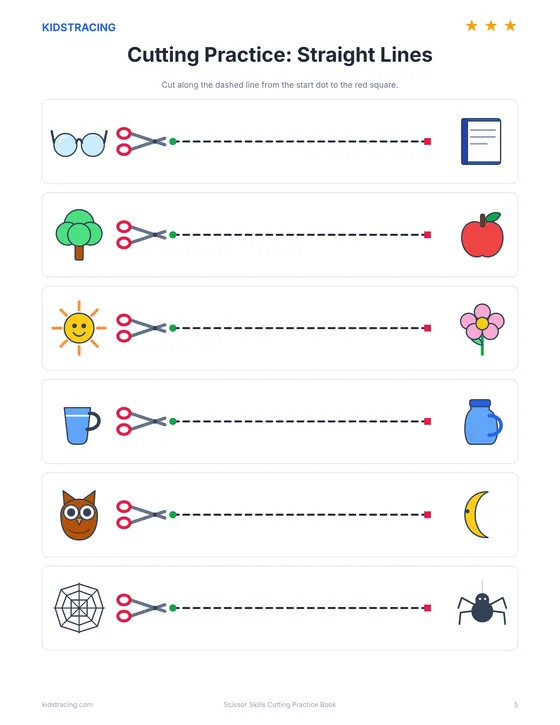
Three pages. The first has rows of short dashed lines for single snips: the child closes the scissors once per line, which is the very first cutting motion. The next two pages have long straight dashed lines with a small picture at each end, such as a pair of glasses and a notebook, for the scissors to travel between. Each line starts beside the scissors icon and ends at a red dot.
Zigzags, Waves and Curves (pages 7–15)
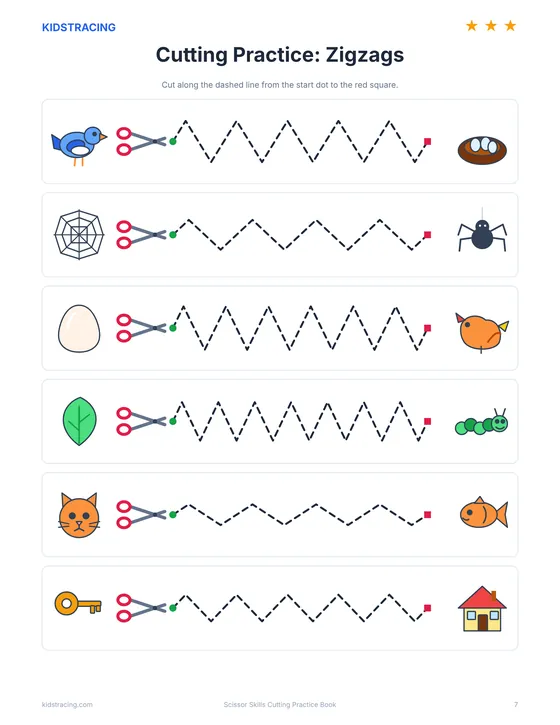
Nine pages that build control step by step: two pages of zigzags, two of gentle waves, two of curvy lines, one of square steps and two of mixed lines, where the pattern changes from row to row. Zigzags ask the child to turn the paper at each corner, and curves are harder because the line never stops changing direction.
Cut Out Shapes (pages 16–20)
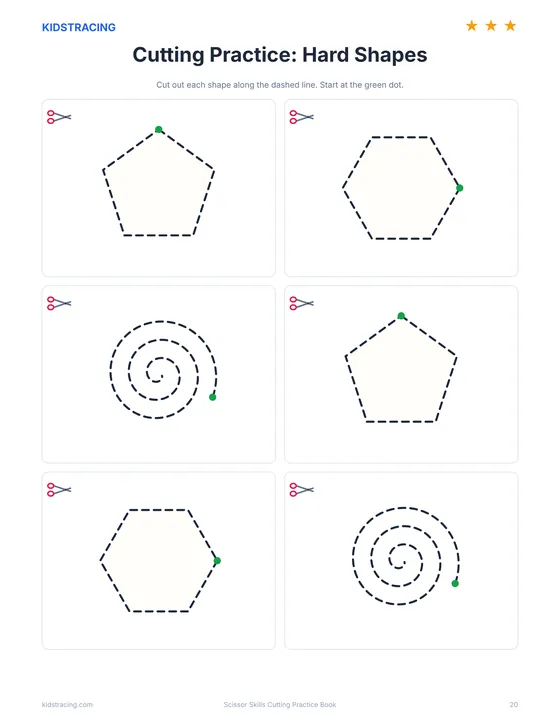
Five pages with six shapes each. The first two are the basic shapes (circle, square, rectangle and triangle), then oval, diamond, heart and star, and the last page has hexagon, pentagon and spiral. Each shape has a green start dot, and the spiral is the biggest challenge in the book.
Cut Out Pictures (pages 21–28)
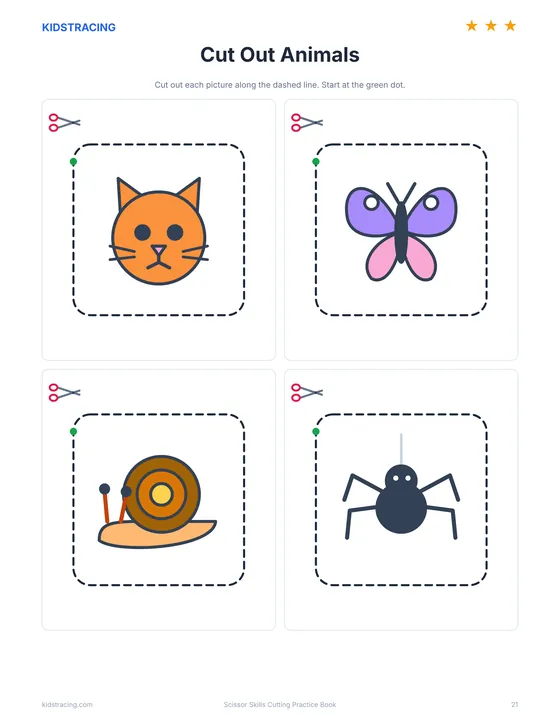
Eight pages with four pictures each in a dashed box: animals (two pages), fruits (two pages), vehicles (two pages), toys and everyday objects. Children cut around the box first, which is easy, and can then color the picture, glue it on paper or use it in a collage.
Sample pages
A few pages from the finished workbook. The PDF is sharp enough to print at full size.
Skills your child practices
- Opening and closing scissors with control
- Hand strength and finger separation
- Using both hands together (one cuts, one turns the paper)
- Following a line with the eyes and the hands
- Cutting straight, zigzag, curved and shaped lines
How to use this workbook
Print on plain paper and gather safe scissors
Choose US Letter or A4 and print at 100% (Actual size). Regular copy paper is easiest to cut. Use blunt-tipped scissors that fit your child’s hand, and a left-handed pair for left-handed children.
Show the grip
Thumb in the small loop, middle finger in the big loop, index finger resting on the outside. The thumb should point up toward the ceiling while cutting.
Use the helper hand
The other hand holds the paper and turns it. Remind children to move the paper, not the scissors, around corners and curves.
Go in order
Start at the scissors icon or the green dot, cut along the dashed line and stop at the red dot. If a page is too hard, go back one step and try again later.
Always supervise, and keep the cut-outs
Stay close while children cut. Use cut-outs for collages, cards and name tags so that the practice has a purpose.
If cutting feels hard
Many beginners squeeze the scissors with their whole hand and cut in short, jerky bites. Practice the closed-open-closed rhythm in the air first, then on thick paper strips, and use the snips page before the long lines. Playdough snipping and tearing paper strips are good warm-ups for strength.
Cutting practice fits well with other fine motor work such as the Pen Control and Pre-Writing Book and the Dot Marker Activity Book. The guide on Pre-Writing Activities for Preschoolers: 15 Fun Ideas lists more playful ways to build hand strength without a pencil.
Free worksheet generators to go with this workbook
Every page in the workbook was made with the same tools you can use yourself. Use them to print extra practice with your own words, names or numbers.
Guides for parents and teachers
How to Teach a Child to Use Scissors
How to teach a child to use scissors: the right grip, the best first scissors and a step-by-step cutting plan from snipping to cutting out shapes.
Pre-Writing Activities for Preschoolers: 15 Fun Ideas
Fifteen fun pre-writing activities for preschoolers that build the strokes, strength and control children need before they start writing letters and names.
Handwriting Readiness Checklist: Is Your Child Ready to Write?
A simple handwriting readiness checklist for ages 3 to 6: ten signs your child is ready to start writing, and what to do if they are not there yet.
More free printable workbooks
Pen Control and Pre-Writing Book
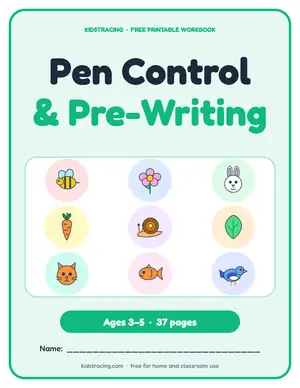
Lines, curves, zigzags, loops and spirals, plus paths from a bee to a flower, to build pencil control.
Shapes Tracing and Coloring Book
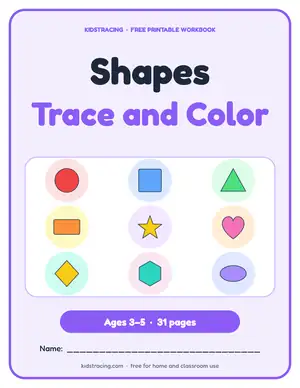
Ten shapes to trace, hunt for and color, plus tracing practice and matching games.
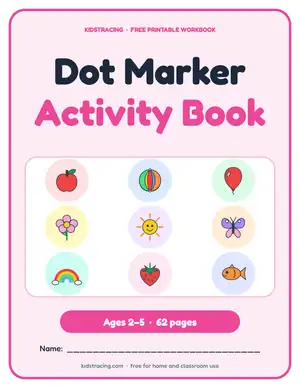
Dot Marker Activity Book
Big letters, numbers, shapes and pictures filled with circles for dot markers, stickers or fingertips.
Frequently asked questions
Is the Scissor Skills Cutting Practice Book free?
Yes. It is free for home and classroom use and needs no sign-up. Print as many copies as you need for your own children or students. Please do not sell the file or put it on another website.
At what age can children start cutting?
Many children begin snipping paper around age 2 to 3 and can follow a straight line at about 3 to 4, but there is a wide range. If your child is not interested, wait a few weeks and try again with thicker paper strips.
What kind of scissors should I use?
Blunt-tipped child scissors that open and close easily. Small hands do better with scissors that are sized for them. Left-handed children should use left-handed scissors so that they can see the line they are cutting.
Do I need to print in color?
No. The cutting lines are dark and clear in black and white. The pictures on the last pages have colors, but they also work in black and white and can be colored in by hand.
Can I make extra practice pages?
Yes. Our scissor skills worksheets make new pages of lines, shapes or pictures with the settings you choose.